
Anyway, several hours of chatting and designing and listing down what needed to be done, we were on our way creating the bike. All the parts that were needed for paint was removed and taken back to my apartment for paint works. Sadly, because it was an apartment, things were slow and cramped. Much later on (like about 4 months later), I had taken my things to my wingmans HUGE basement and we started paint works there.
Once all the undercoat was done, it was then off to Remus's Motorsports Playground for mask works. Since it was Chinese New Year here in Malaysia and me being a chink, I took a week off and so did Remus. But true to his word, Remus made the masking happen and the masking was born in the middle of a Friday night. Poor Playground worker though, he had to re-mask the tank at least 3 times.
Anyway, paint work went on and things were not too shabby except the fuel cap. When I started the paint works, I used a known brand of spray paint. Sadly, the quality is no longer as good but I didn't know that till later. I had painted the fuel cap with that brand but for the rest of everything else, I had used a different brand that compressed automotive paint into aerosol cans. After the paint works were done, the first item to be unmasked was the fuel cap. Unfortunately, the paint and the masking were both in a tug of war match with each other, sad to say, the paint lost and everything came off with the masking. So, temporarily the fuel cap was repainted white with no designs.
Being appreciative of what Remus had done for me, I stamped my (what is now lovingly called) Ironman tank (because the front of it looks like the Ironman mask) with the playground car in "Silhouette" paint. This is a lightly tinted flaked clear paint.
Most of the paint work was done with a Negative masking. A lot of people actually asked me, why did you do a negative masking? Wouldn't it be easier and cheaper to have the base painted the color your wanted then stick the mask one and spray the rest of the items? Well, yea. But there are 2 reasons why I did it that way. I have had bad experiences with positive masking before. As I took it off, it ripped off a lot of paint and also left very bad textures on the masked areas. Maybe back then it was due to the paint I was using but it scared me. Another reason would be because the look is actually slightly different. I don't know how to explain it, but positive masking and negative masking of the same design gives off a very different effect to your paint job. Absurd? Try it. You will see.
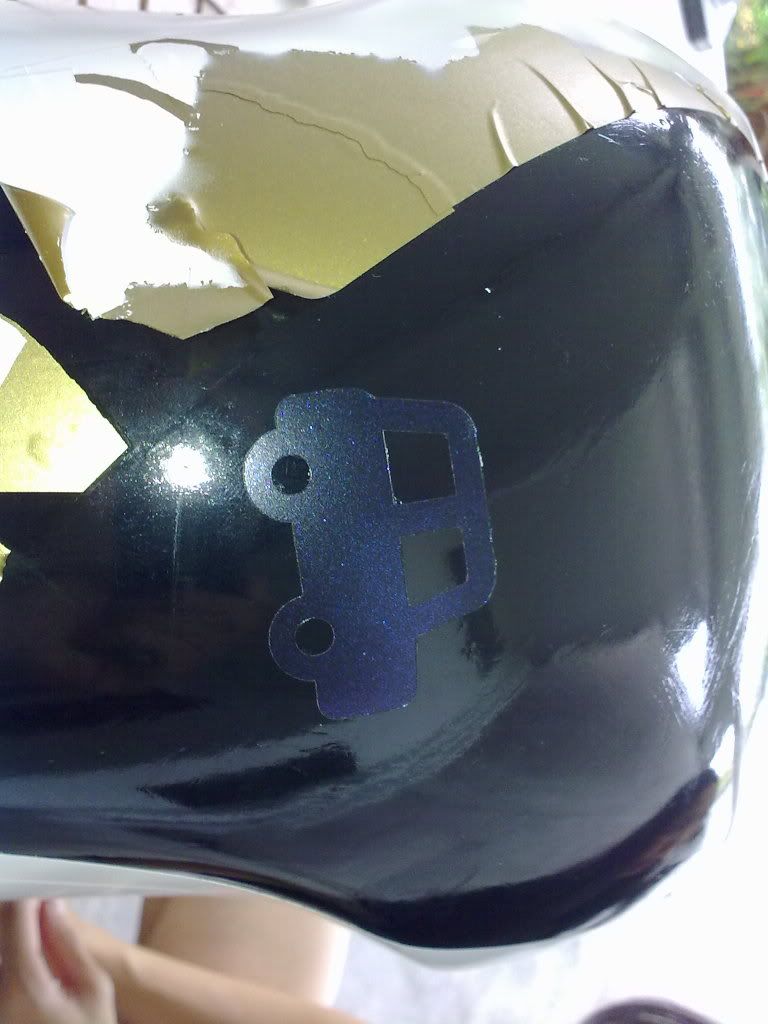
The Playground Car
 The Tank
 The Rear Fender (My Pride And Joy)
Paints I had used:
- Anchor Base Silver
- Nippon Aerosol Black
- Nippon Aerosol White
- Nippon Gloss Clear
- Aikka Silhouette Blue
- Aikka Clear (for finishing)
Paints I had wasted money using:
Anchor Black(like 10 cans dammit)Anchor White
By Vy
No comments:
Post a Comment